


Installing an aluminum alloy busway (busbar trunking system) is a highly structured process that involves pre-installation inspection, secure mounting with designated hangers, precise joint block connection, and rigorous insulation resistance testing. While aluminum busways are significantly lighter and easier to handle than copper, achieving a safe installation requires strict adherence to phase alignment and applying the exact manufacturer-specified torque at every joint connection.
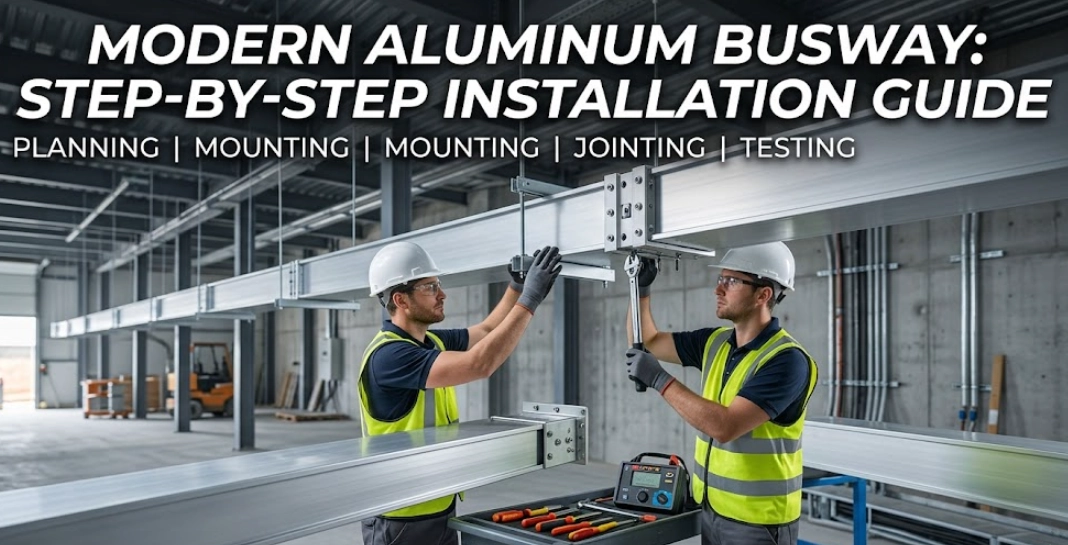
Proper installation is critical to preventing thermal hotspots, voltage drops, and system failures. Here is the standard, step-by-step engineering guide for installing an aluminum busway system:
1. Pre-Installation Inspection & Megger Testing Before lifting any sections, verify the routing layout against the CAD drawings. Crucially, use a megohmmeter (Megger test) to check the insulation resistance of each individual busway section. Do not install any section that shows compromised insulation or physical transit damage.
2. Installing the Support Structure (Hangers & Brackets) Determine the layout for horizontal runs or vertical risers. Install the mounting brackets and hangers securely to the building structure. Standard engineering practice dictates placing a support hanger every 1.5 to 2 meters (5 to 6.5 feet), depending on the specific weight and dimensions of the aluminum busway profile.
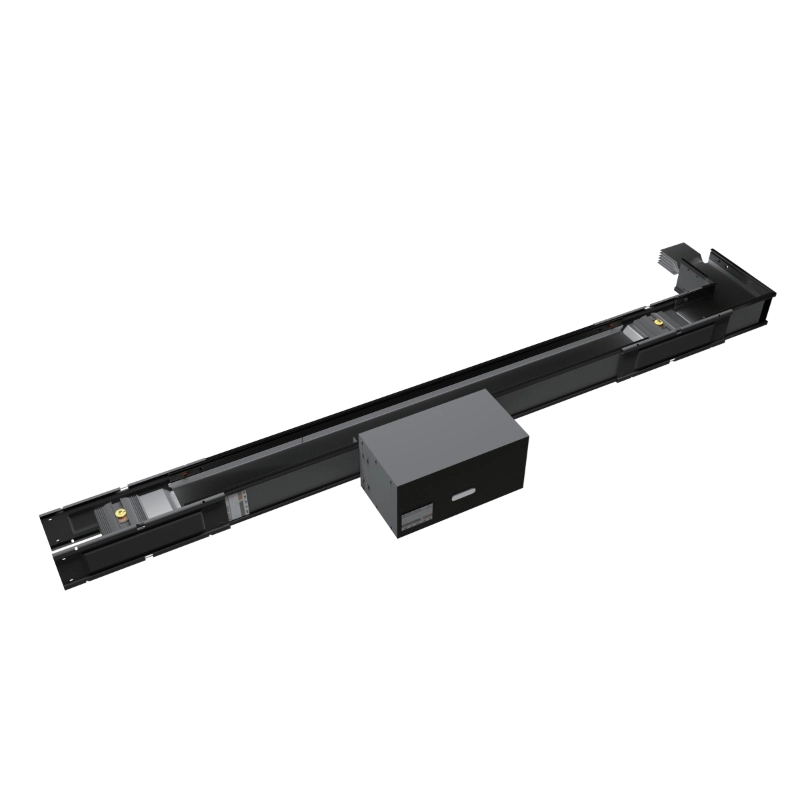
3. Positioning and Phase Alignment Lift the lightweight aluminum busway sections onto the supports. Ensure strict phase alignment (L1, L2, L3, N, and PE) matches perfectly across all connecting sections. Reversing phases can cause catastrophic short circuits upon energization.
4. Securing the Joint Block Connections (The Critical Step)
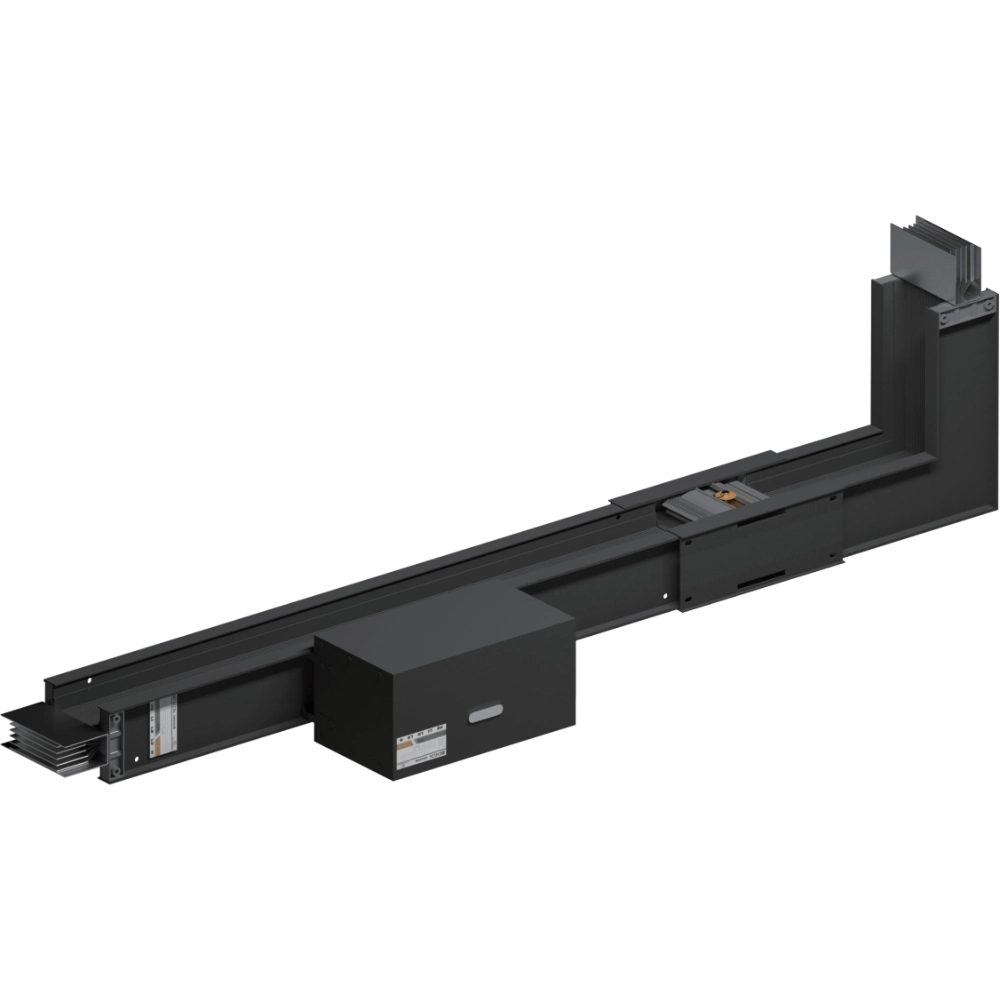
Unlike standard wiring, busway sections are connected using highly engineered joint blocks. Slide the joint block between the two sections. You must use a calibrated torque wrench to tighten the connecting bolts. Most modern busways utilize double-headed shear bolts—tighten the nut until the top head snaps off automatically, guaranteeing the perfect clamping force and optimal electrical contact.
5. Final Insulation Testing & Commissioning Once the entire mechanical installation is complete, do not energize immediately. Perform a final, comprehensive insulation resistance test across the entire assembled run to ensure no internal shorts were created during the jointing process. Finally, install the protective joint covers to maintain the system’s IP rating.